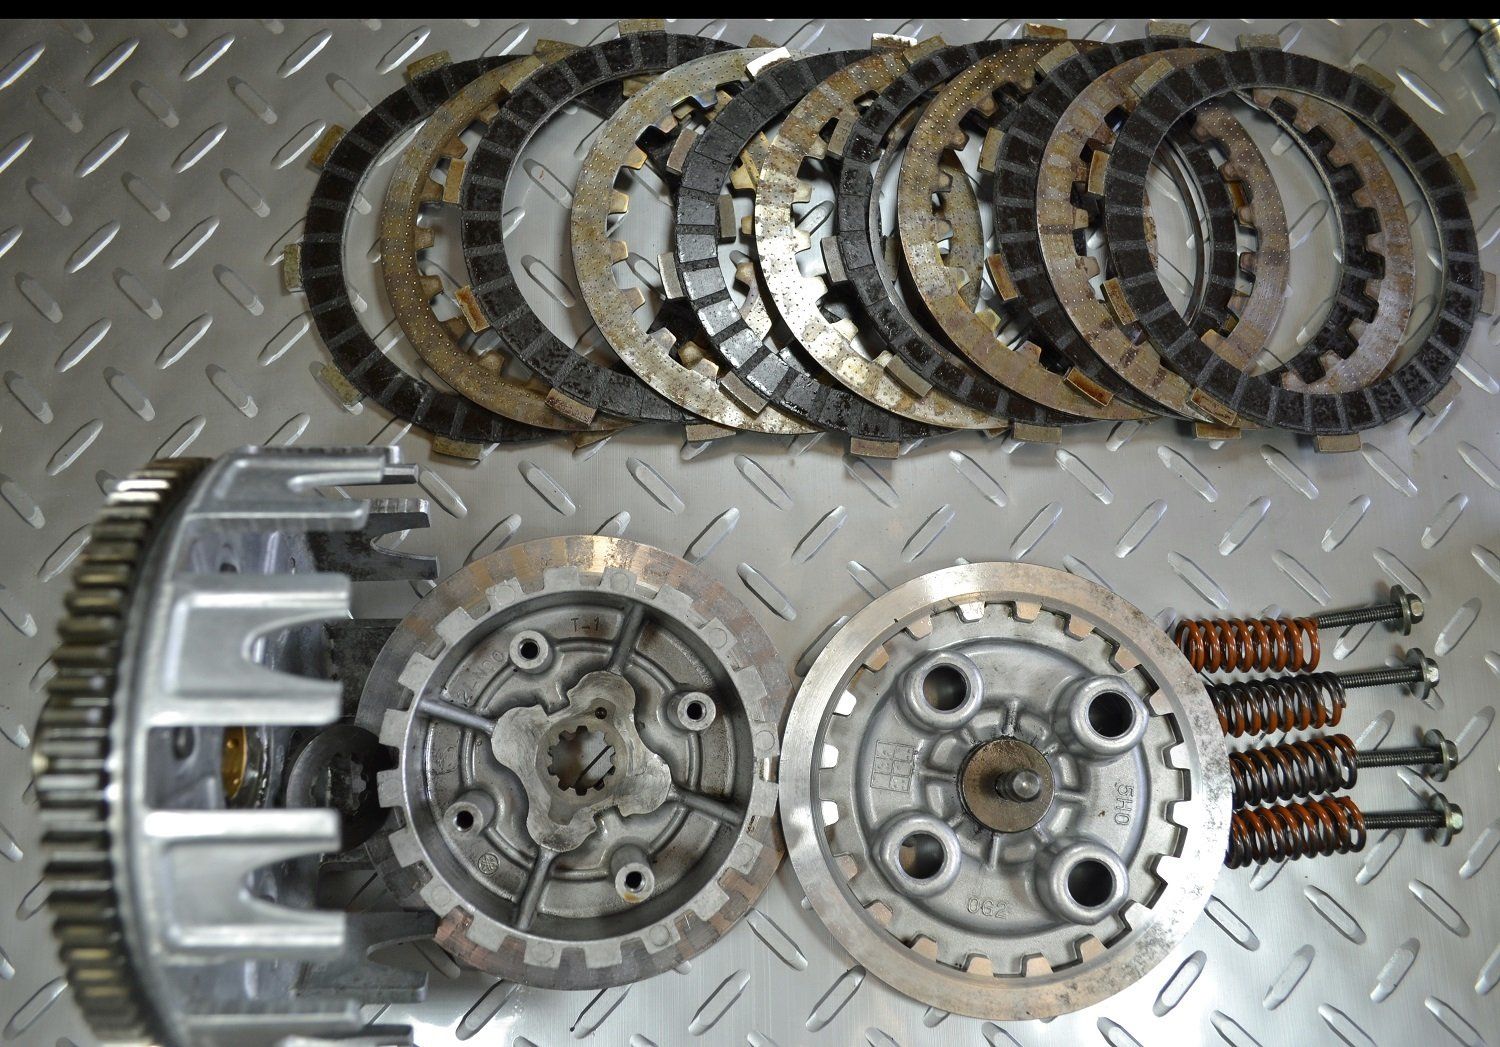
The culprit is not in the electrical system nor in the robust starter motor. The problem is with the clutch system that transfers the energy and motion of the electric starting motor to the crankshaft. The 450 is a healthy engine with a lot of moving parts. Combine the engine compression with the drag of those rotating parts and the 450 presents a substantial load for the Electric Starting system to handle. Press the starter button and the solenoid brings on all of the battery’s amperage to the heavy duty starting motor. The starter clutch engages when rotated and the slack in the starter chain slaps the crankshaft into rotation. The combination of high torque, slack in the chain, and a heavy rotational load “hammers” on and will eventually overwhelm the 3 small, under-sized 6mm machine screws that hold the clutch hub to the alternator rotor.
Diagnosing and Re-Engineering The 1965-1974 Honda 450 Electric Starter
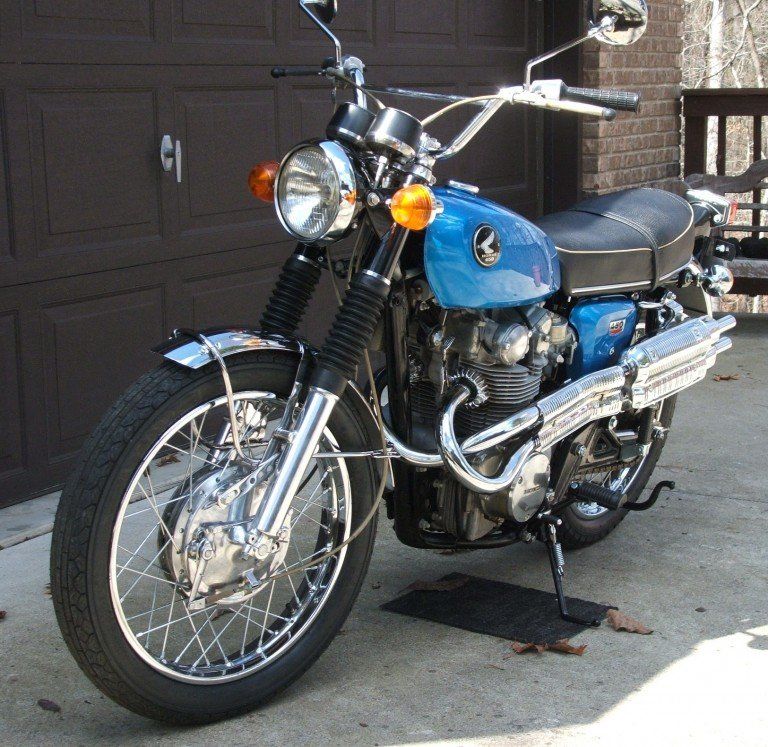
Many of us hold Honda’s 444cc DOHC Twins built between 1965~1974 sacred and believe them to be among the true engineering marvels of their time. There is however one dark, dirty little secret that you don’t hear much about. The Electric Starter Systems were under-built and would often fail in just a few thousand miles.
While these vertical twins had some very impressive technology for their day, there is one area of engineering where Honda went wrong – bad wrong. The Starter Clutch was poorly designed. I am 4 for 4 with failures on their starter clutches. That’s the dirty little secret that I learned about the hard way. Now, I don’t consider myself lucky or unlucky, but with those odds in mind, I do believe every Honda CB450 and CL450 electric starting system would and will fail sooner than later. In my most recent experience, the failure lead to broken parts in the transmission and those broken parts left the bike’s owner stranded beside the road at night. The mileage for the 4 different “broken bikes” was 1,362 miles, 4,060 miles, 6,287 miles, and that most recent one with only 7,311 miles.
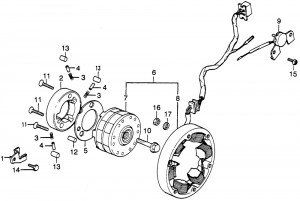
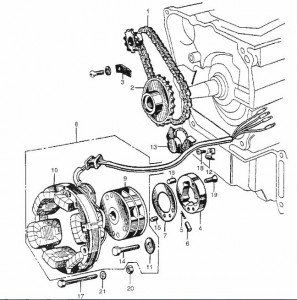
As you see, the solid knock-pin as the fiche calls it (part reference # 15) and the hole in the alternator rotor, and those small 6mm machine screws are supposed to handle all of the torque and rotational shock the robust electric motor imparts every time the starter button is pressed. That one pin is held in-place with no keys, no splines, no notches or grooves into the rather soft aluminum alternator rotor and the steel starter clutch.
These photos show the loosened and damaged screws. The resulting loss of clamping allows more slack in the clutch/alternator rotor joint. More slack means more shock and then more failure. This last one sent metal parts through the transmission and engine. Some of the metal shavings got into the oil delivery system and clogged some of the critical oil passages to the top end.
The Fix? Unfortunately this is one of those cases where new parts and careful assembly won’t make it better. The system is stressed and will fail if used and not corrected. With the help of my dear friend, Mr. Charles – we set about finding a solution.
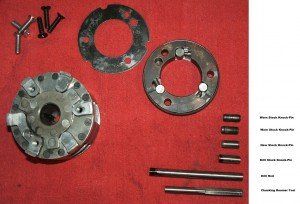
Careful study confirmed that we could not simply add more pins since the roller assembly that engages the crankshaft has slotted tunnels with spring plungers that don’t leave room for a 2nd or 3rd knock pin in the areas where the corresponding rotors match up. What we could do though was to drill down further into the existing hole of the rotor and use a longer knock-pin. The stock knock pin is .795″ in length – exactly the same as the hole in the rotor. The stock hole and knock-pin bottomed-out at the transition of the aluminum and the steel magnets of the alternator. Getting the knock-pin hole deeper and using a longer pin allowed us to get down into the very hard steel of the alternator’s plate magnets. Drilling deeper required a vertical milling machine, the Bridgeport Mill gave us the .200″ that we wanted.
Forget using a drill bit and drill. This is a machine-shop repair. The metal used in those plate magnets is hardened and required a chucking reamer in size .3270 (MSC part # 02033272. The extra long knock-pins were made from drill stock/reamer blank in size 21/64 (.3281) in 5″ length (MSC part # 01100213). That size was large enough to remove all of the original hole’s wear and damaged area but would not exceed the clearance of the surrounding components. Again, this material is tool steel – the same as used in making drill bits.
We installed the longer knock-pins with Red Loctite (permanent type for steel) while the new 6mm countersunk machine screws were assembled and torqued to 90 in/lbs using Blue Loctite.
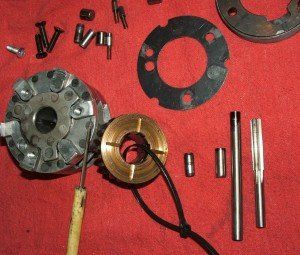
This photo shows the problematic components of the starter clutch. In the lower right corner going bottom up, are the chucking reamer, the drill stock after polishing to size and cutting, the new .995″ custom-made knock pin and the NOS knock pin above it for comparison.
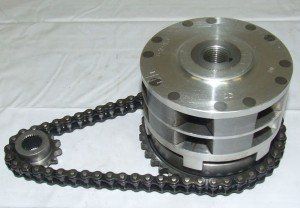
We hope that we’ve given a solution to an old problem. Fixed correctly, we may save you an engine and prevent what could be an exploding engine/transmission case with a locked rear wheel and oil on the rear tire. This repair is a 2 hour job if you buy the components ahead of time and have access to a machine shop or a friend with one. The parts are removed from the left side crankcase and only 1 gasket is lost.
The drill blank was approx $7 and the chucking reamer was $30. Both will make repairs to several starter clutches so the cost per starter for the 5 possible from the 5″ long drill blank including 3 new screws and gasket should run about $21 each excluding the machine shop labor. You might even find that the machinist has these materials available and won’t have to buy the new stock.
Have fun with your vintage bikes and enjoy the push button starting again without worry about how your LUCK is today.
Thank you for Following
Related Articles
The three-wheeler electrifying the Arima hot spring tourism trade
The Motorcycle Mechanics Institute Does Vintage Too
Harley-Davidson Street 750’s Brakes Completely Fail In Magazine Test
Zero Motorcycles ZeroCast: Z-Force Motors With Ryan Biffard – Webinar